
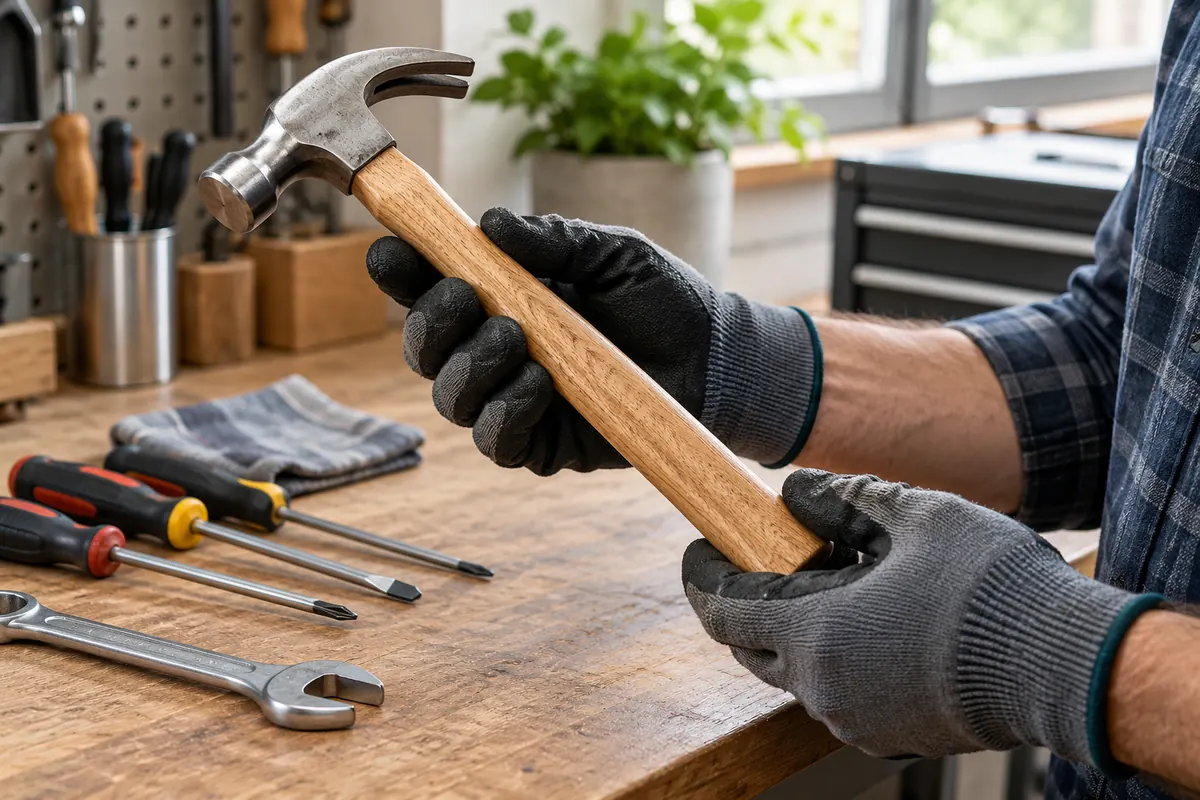
A hand tool inspection checklist helps workers recognise damage before force is applied to a hammer, spanner, screwdriver or chisel. Keep the inspection specific to manual tools. Powered grinders and drills need separate equipment checks, and an inspection sticker does not prove a tool is suitable for the job in hand.
Before using the checklist
Check tools in good light before use and after damage or abnormal loading. OSHA 1926.301 addresses unsafe hand tools in US construction, including worn wrench jaws, mushroomed impact tools and damaged wooden handles. Use the actual manufacturer instructions and workplace assessment for the tool and task. Avoid applying electrical ratings or lifting capacities that the tool does not have.
Copy and adapt: Use this original checklist within your controlled site process. Add the applicable references and retain evidence for each decision.
Hand Tool Inspection Checklist and Defect Record
| Review item | What to confirm or record |
|---|---|
| Identity and suitability | Identify the tool type and confirm it is intended for the task and required loading. |
| Handles and grips | Look for cracks, splinters, loose fitting, missing parts or damaged grip surfaces. |
| Head and attachment | Check the head is secure and there is no visible cracking, deformation or looseness. |
| Working surfaces | Inspect jaws, tips, blades and striking faces for wear or damage affecting safe use. |
| Guards or protection | Check any supplied protection is present and suitable; do not improvise missing safety features. |
| Cleanliness | Remove ordinary contamination by the approved method so defects can be seen. |
| Unauthorised changes | Look for welding, extensions, grinding or repairs not accepted by the manufacturer or competent process. |
| Storage and defects | Separate defective tools from usable stock and record their controlled repair or replacement route. |
A worked example
Illustrative example: a hammer head moves slightly on its handle. The worker removes it from use and identifies the defect for the stores team. Wrapping tape around the joint may conceal movement but does not establish a sound attachment. The tool returns only after the authorised repair or replacement process confirms its condition.
Follow-up and records
Use a defect record with tool ID or description, location, defect, date, person notified and disposition. Do not send a defective tool back into the shared toolbox. Review repeated damage for causes such as incorrect selection or storage. For issued tools, check that the replacement is suitable for the intended task rather than simply the nearest available item.
Record the date, location or asset, findings, action owner, due or hold point and closure evidence. Use Yes / No / Not applicable only with a reason where needed. A blank or unexplained tick should not hide an unresolved concern.
Track outstanding actions in your daily safety officer report. Review recurring problems through your safety committee action log.
Common questions
Does a colour code replace a pre-use check?
No. A past inspection mark does not show damage that occurred later or establish task suitability.
Can we repair every hand tool on site?
Only use repairs accepted by the manufacturer and the competent repair process. Replace tools that cannot be safely restored.
Sources and applicability
The sources below identify their own jurisdictions or product scope. Confirm current Saudi requirements, your client procedures and relevant manufacturer instructions before adopting this example. No regulator or client approval of this checklist is claimed.
- OSHA 1926.301: Hand tools — United States construction standard.